The Projects feature combines all Rush Analytics tools and allows you to keep all the information on the site you are optimizing in one place.
Features
- Add both new and existing tasks to the project
- Control all tasks on-site in one place
- Create tasks directly from a project
Step-by-step guide to using Projects
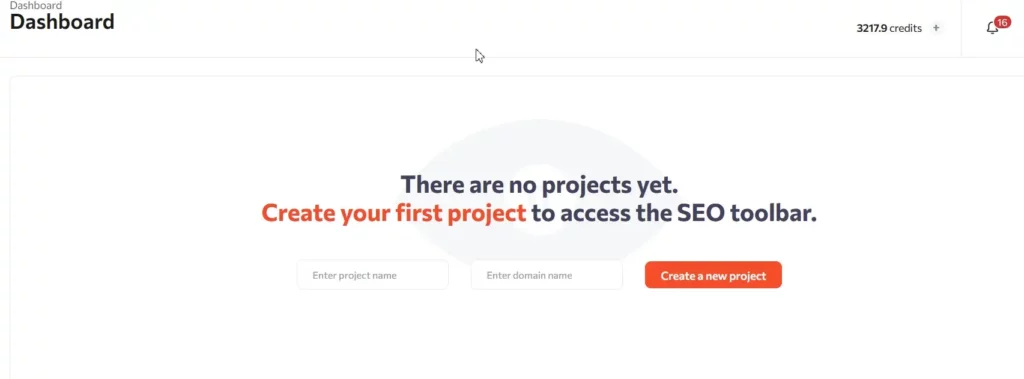
- Project creation.
You can create a project in two ways:
In the control panel of your account, just enter the project name and domain, then click on “Create new project”.
Click on “Create project” on the left side menu and in the window that opens, enter the project name and domain, then click on “Create new project”.
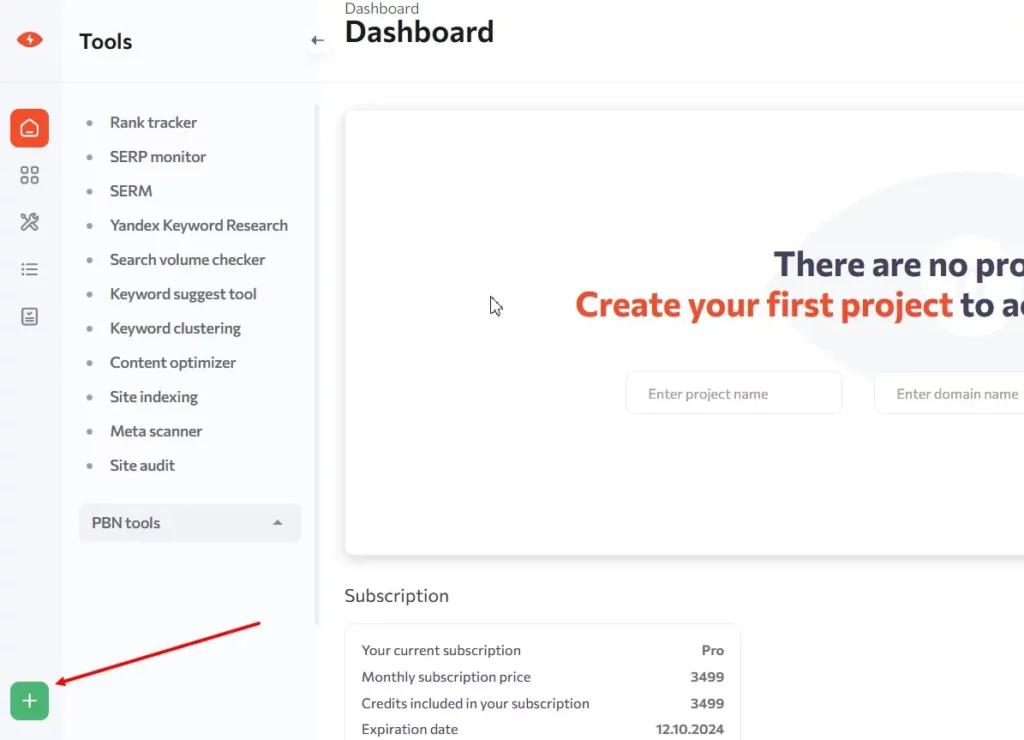
This will bring you into the project and enable you to connect tools to it.
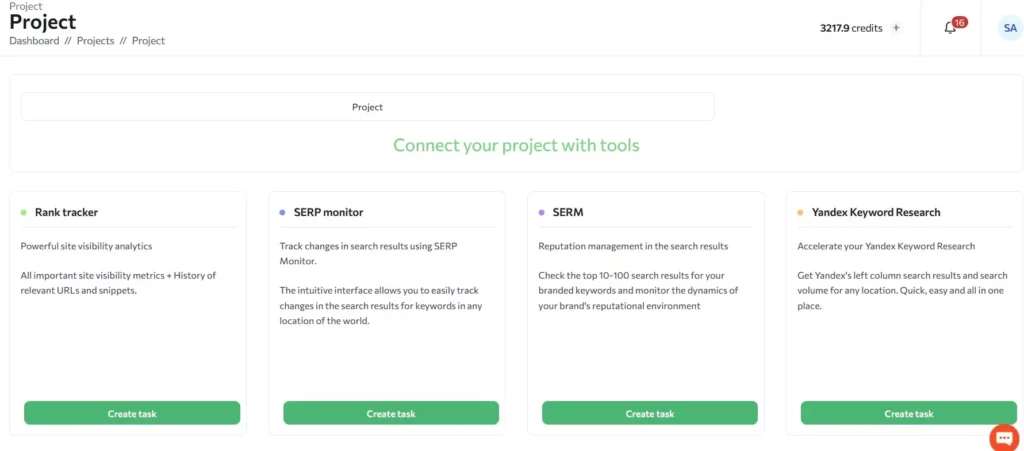
Connecting tools to the project
You can add both new and existing tasks to a project.
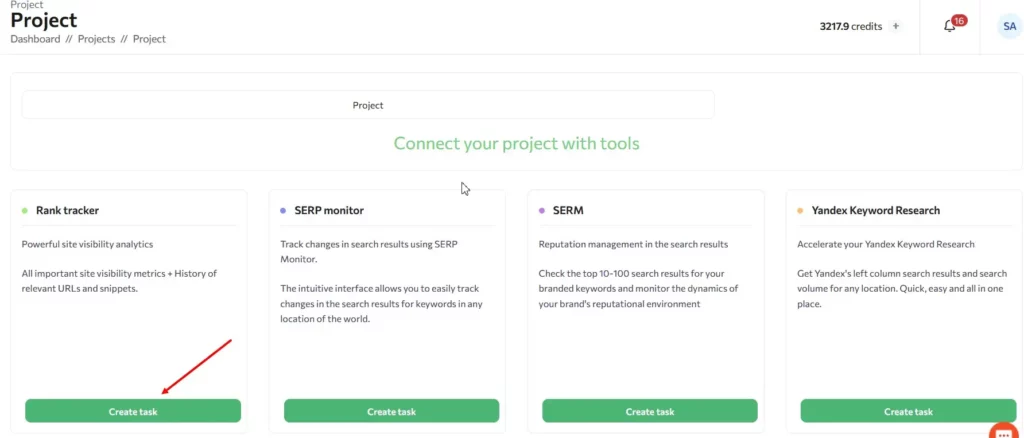
To connect a new task to the project, you need to click on the “Create task” button in the tool you are interested in. After that, you will be taken through the process of creating a task for the selected tool. The task will appear in the project as soon as it is started.
You can connect an already prepared task to the project via the task listing. Mark the checkbox of the task you want on the task listing and drag and drop it into the project folder. The task will then appear in your project.
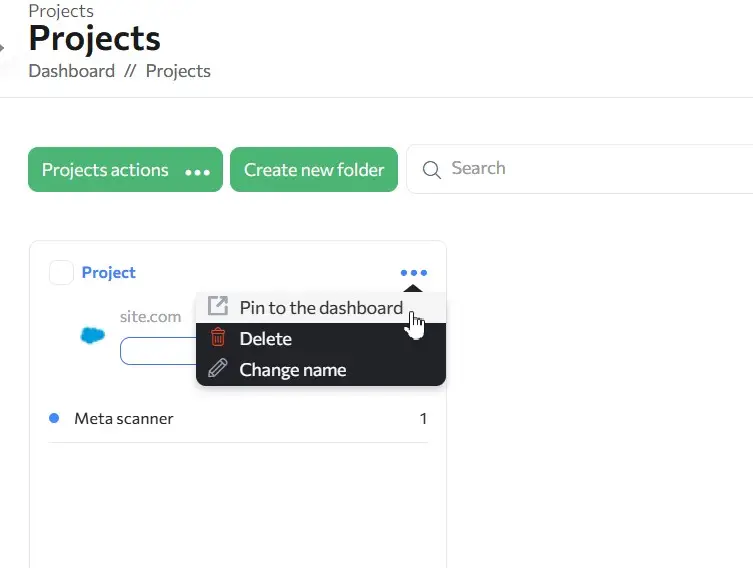
- Pin a project to the dashboard
The most important projects can be pinned to the dashboard. This way, they will always be close by.
You can lock a project by clicking on the menu bar on the project card and selecting the option “Pin to the dashboard”. A maximum of 4 projects can be pinned.
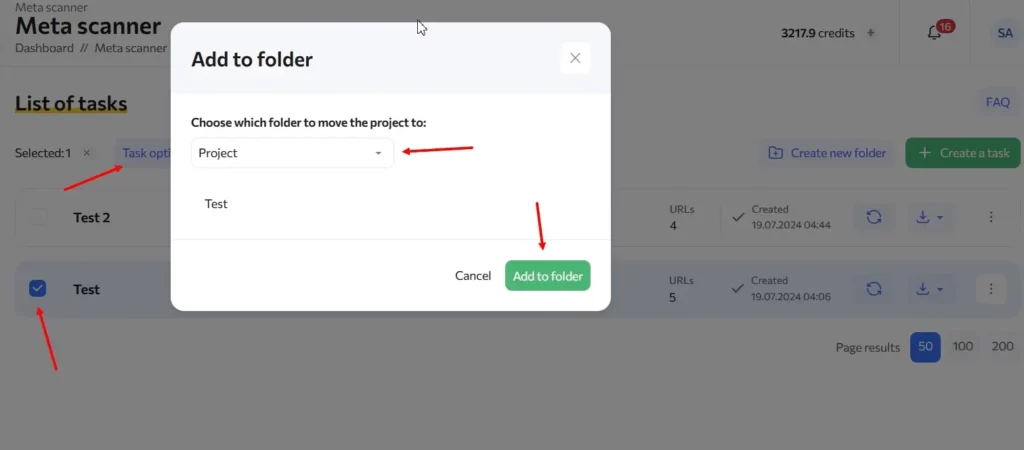
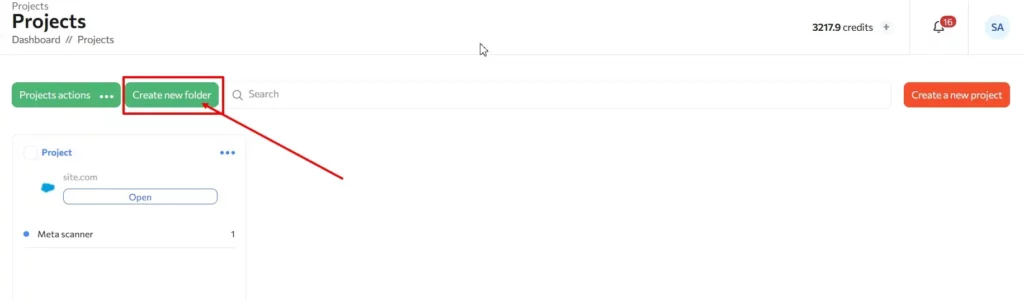
- Add a project to a folder
If you have a lot of projects, you can create a project folder. This way you can, for example, archive old projects.
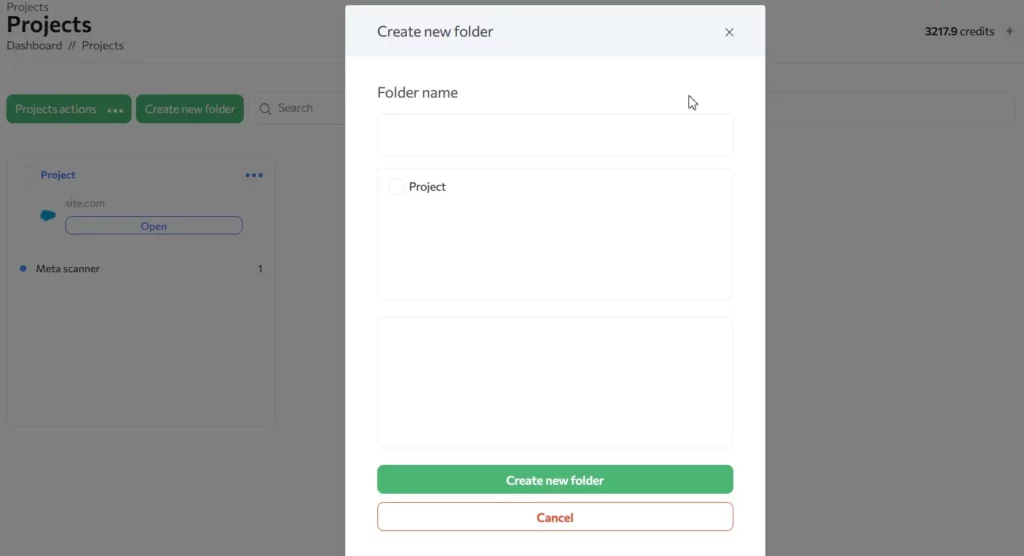
To add a project to the folder, click on the “Add folder” button, enter the name and select the project from the list in the opened window. Then press the “Add folder” button.
The contents of the folder can be opened and closed using the button on the folder.

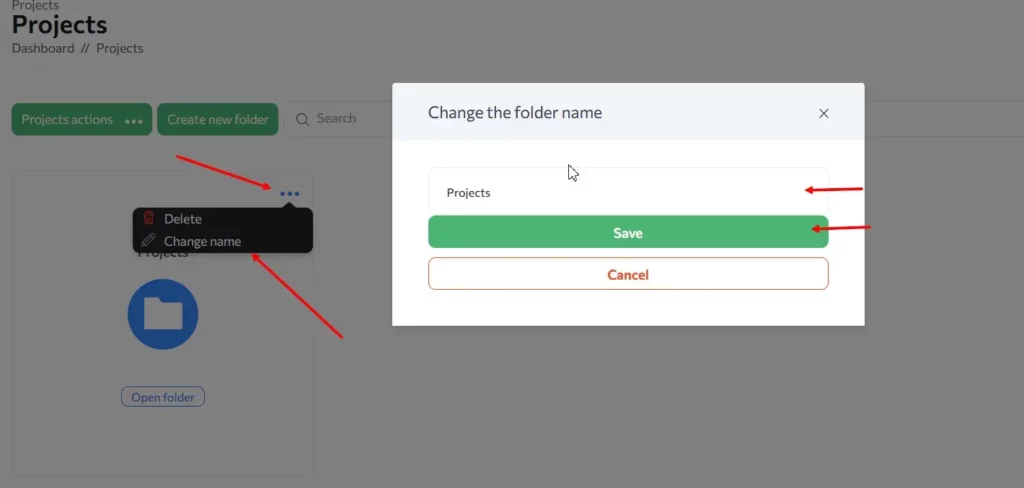
- Change project name
The project card shows the tools connected and the number of tasks. You can change the project name by clicking on the “Change name” button in the menu on the project card.
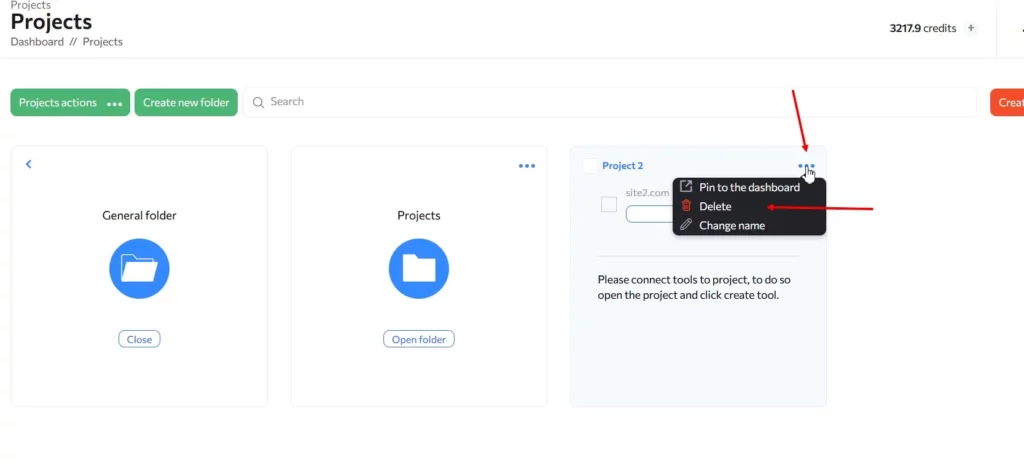
- Deleting a project
When a project is deleted, the tasks attached to the project remain on the listing in the “General” folder.
To delete a project from the card, select “Delete” from the menu on the card.
Is this article helpful?
 143
143
 0
0