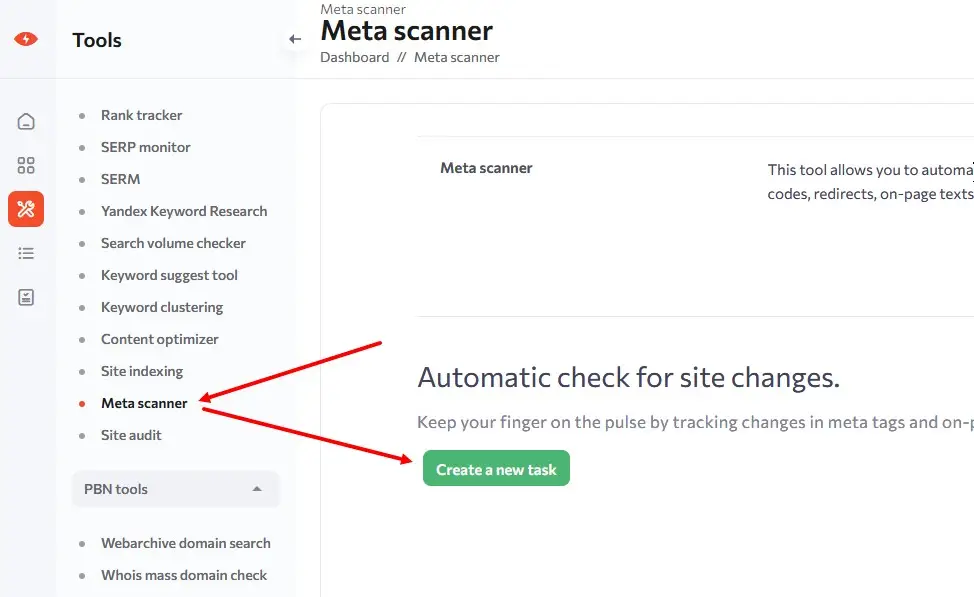
Meta scanner tool allows you to automatically track changes on website pages. We check for changes in the page title, page descriptions, H1 headings, page status codes, redirects, on-page texts, and much more. View a detailed description of the functionality.
Step-by-step guide to using the tool:
Step one: Create a task.
- To create a task, go to the Meta Scanner tab and click “Create New Task”:
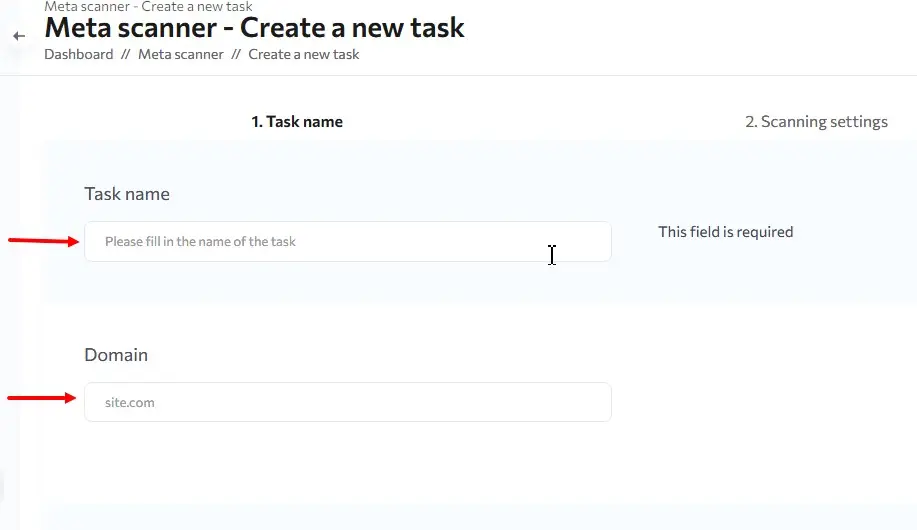
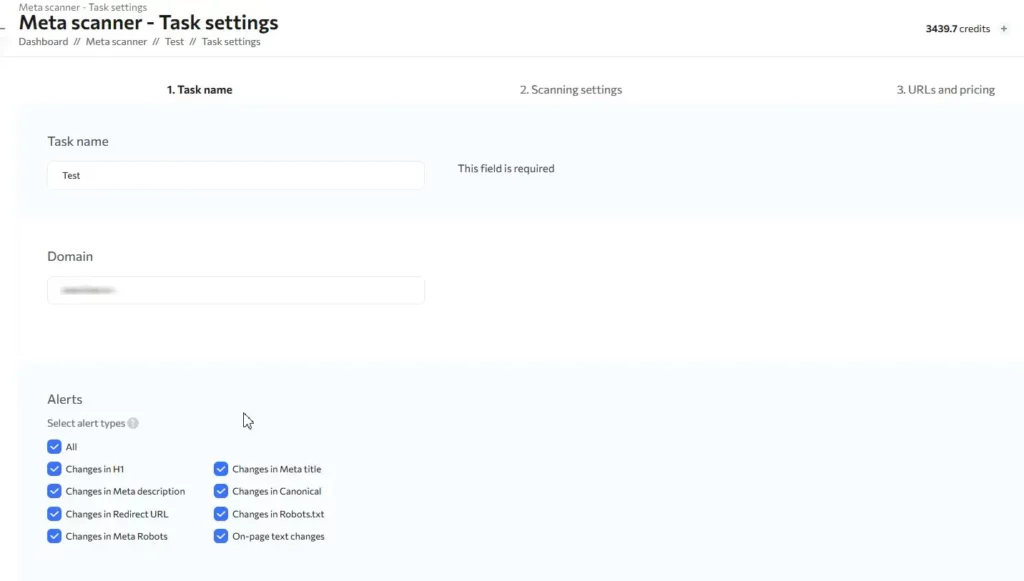
Here you need to enter the name of the task (mandatory field) and add the domain of the site whose pages you want to track.
- Then select the notification type. By activating this option you will receive emails notifying you of changes to the website at the email address specified in your account. Please note that to receive this email, you must be signed up to receive notifications. You can check this in the settings on the “My Account” page.
Select “All” if you want to be notified of changes in all zones. If it is important for you to keep track of changes in only one or a few of the zones, please tick the checkboxes next to them.
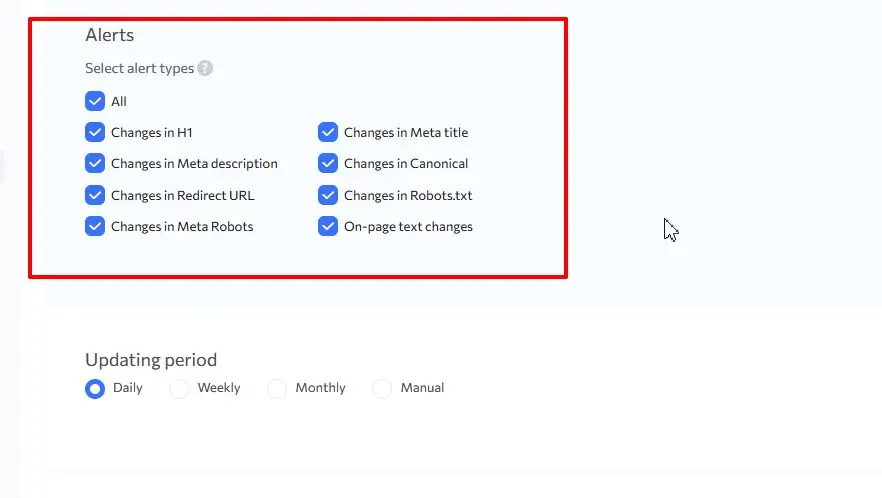
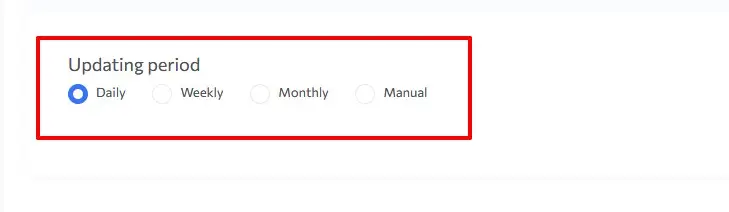
- Next, select the frequency at which the data is updated.
Frequency:
Daily – the task will be updated daily.
Weekly – the task will be updated once a week.
Monthly – the task will be updated once a month.
Manual – the task will be updated only if it is started manually.
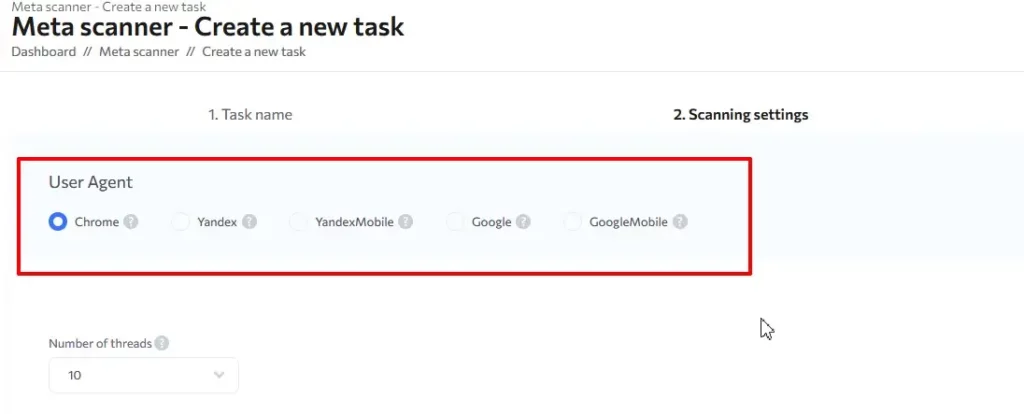
Step two: Crawl settings
In this step, you can choose which User Agent you want to crawl your site with.
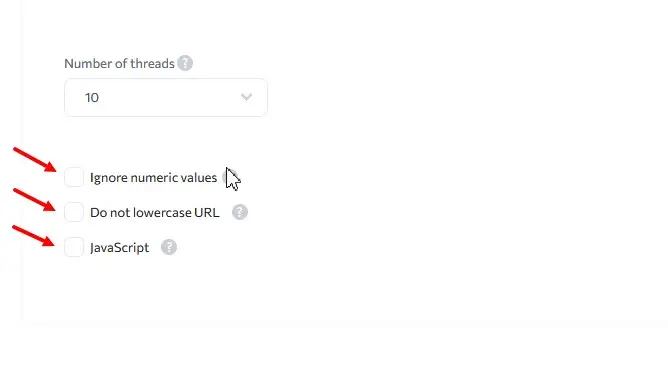
The second setting in this step is to ignore numerical values.
If your website automatically inserts numeric parameters into the meta tags (e.g., price or number of products) and you do not consider this to be an important change, enable this option and our robots will ignore such changes.
For example, if the price in the Title tag is changed from 999 to 1000, you will not be notified about this change in Title.
Also you can activate option “Do not lowercase URL” if you don’t want to convert URLs to lowercase.
And you can activate data collection from JavaScript if it is needed.
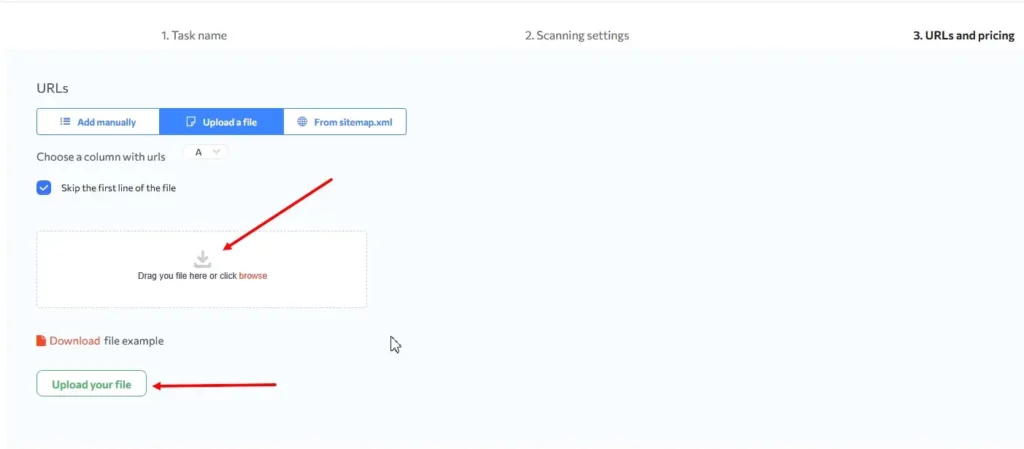
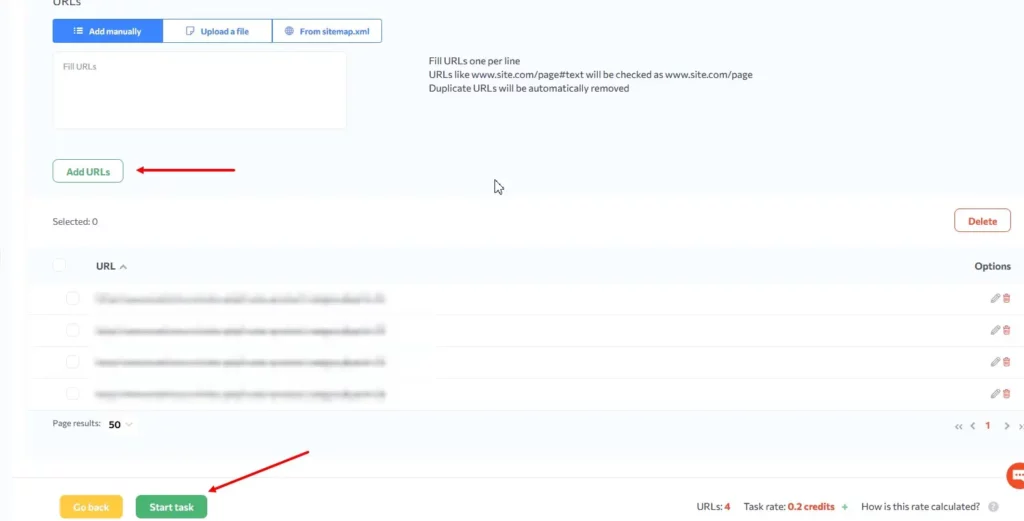
Step three: URL and price. Upload the URL.
You can upload by list, sitemap, or file. Supported file formats: xls, xlsx. You need to specify the column from which the data should be taken and whether the first line should be taken into account:
Text from the page can be added to each of the added URLs, which will be tracked by the Meta Scanner (maximum text length is 256 characters).
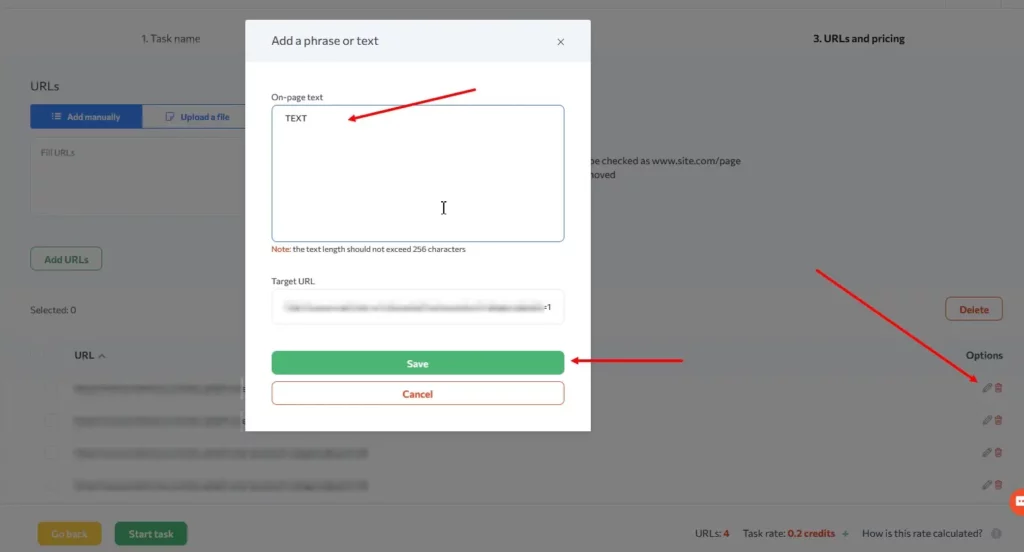
Then press ” Start task”:
Tasklist and statuses:
You can track the data processing on the task list page.
There are several types of statuses:
In Queue – the data is not yet being collected.
Parsing – task in progress.
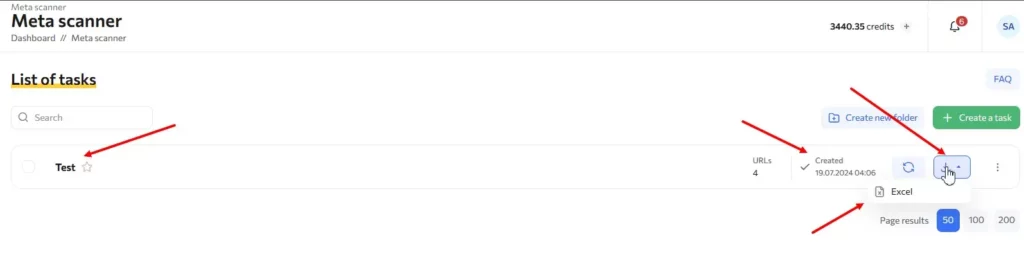
Created – the date of task creation is indicated and next to it appears the option to download the .xlsx file and see the result.
Guide to using the task web interface
In the task web interface, you can go to editing, download a report with task data, restart the task and view the data.
- To go to the task view, you need to click on the task name in the task list.
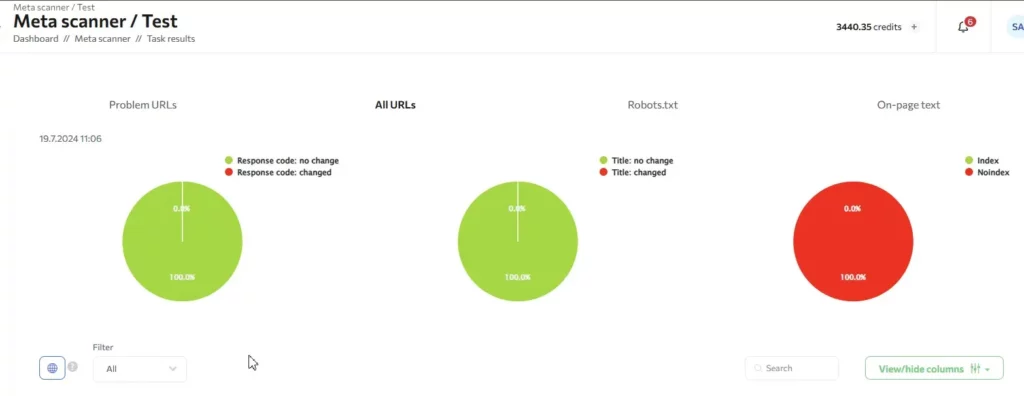
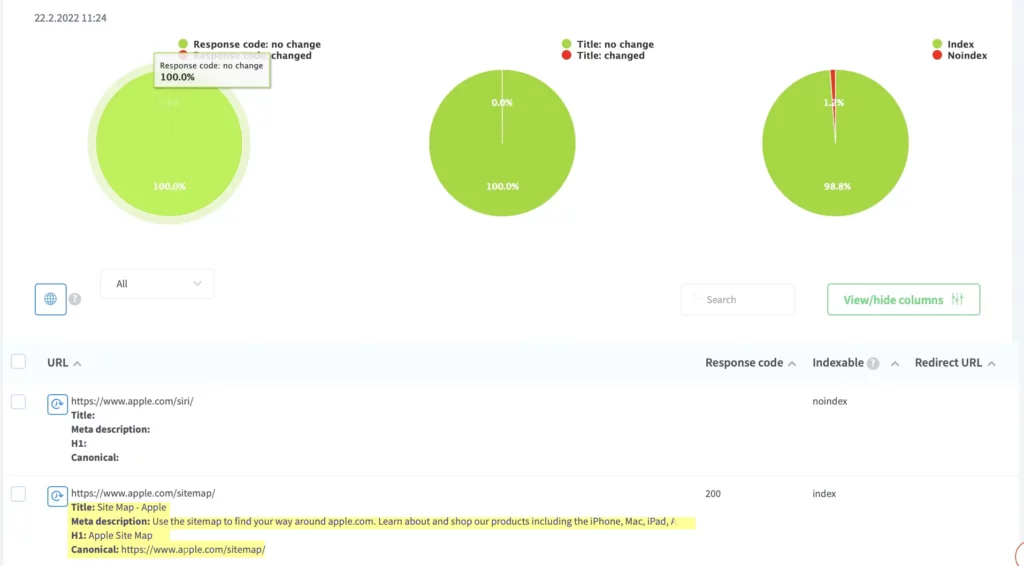
- The “All URLs” tab
This tab contains all URLs added to the task as well as charts.
The charts display the data from the last site check:
Response Code – % of URLs in which response code has changed and % of URLs in which response code has remained unchanged.
Title – % of meta titles in which text has changed and % of meta titles in which text remains unchanged.
Index – % of pages allowed for indexing and % of pages closed for indexing.
The “All URLs” column shows the URL of the page, its Title, Description, H1, and Canonical.
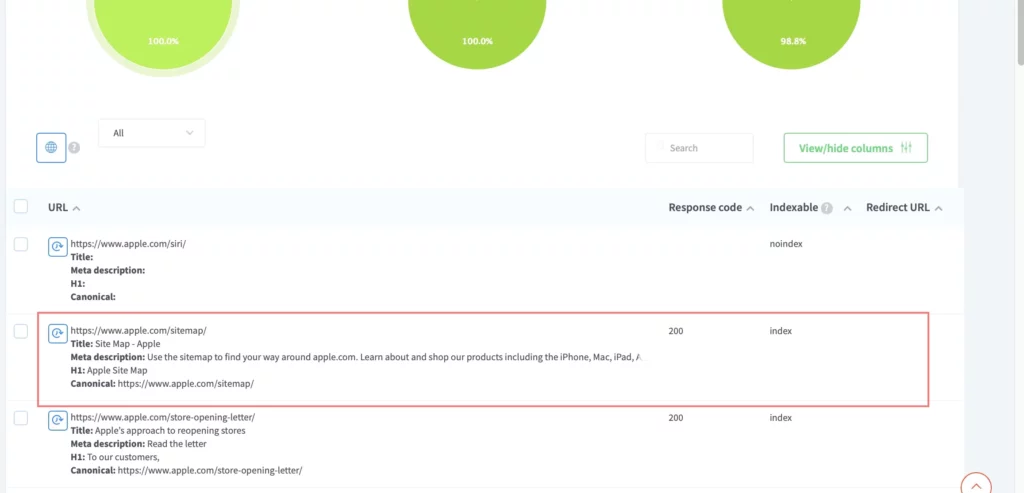
If the data has changed after updating the task, these changes will be highlighted in orange. Data that remains unchanged is not highlighted in the task.
You can also view the updates by clicking on the clock icon. In the table that opens, you will see the history of the last 10 updates.
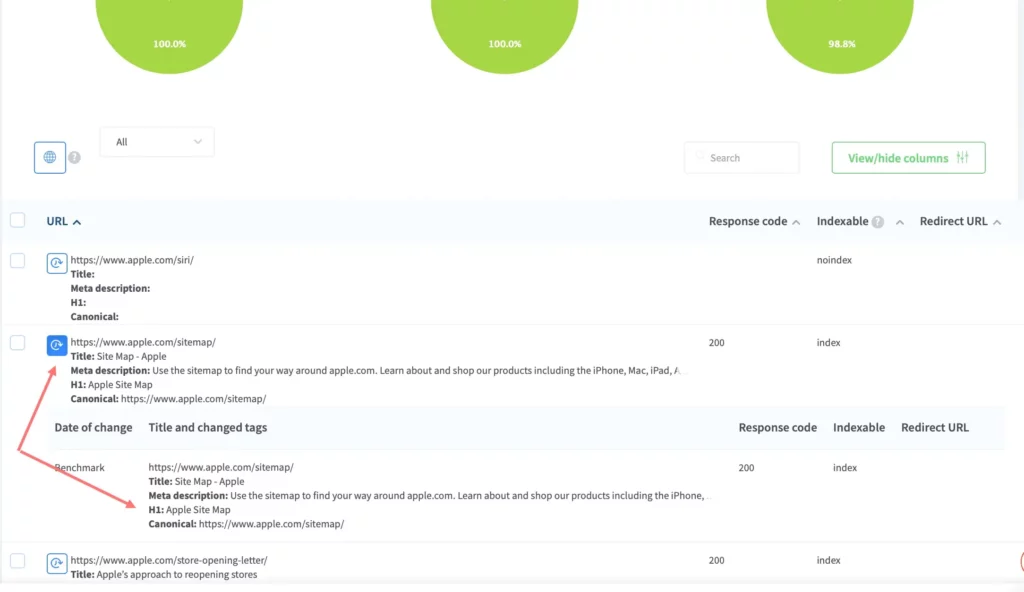
If you want to change the reference data (raw data that has been loaded into the project) for the last check, select the required rows in the table with the checkboxes and click on the globe icon.
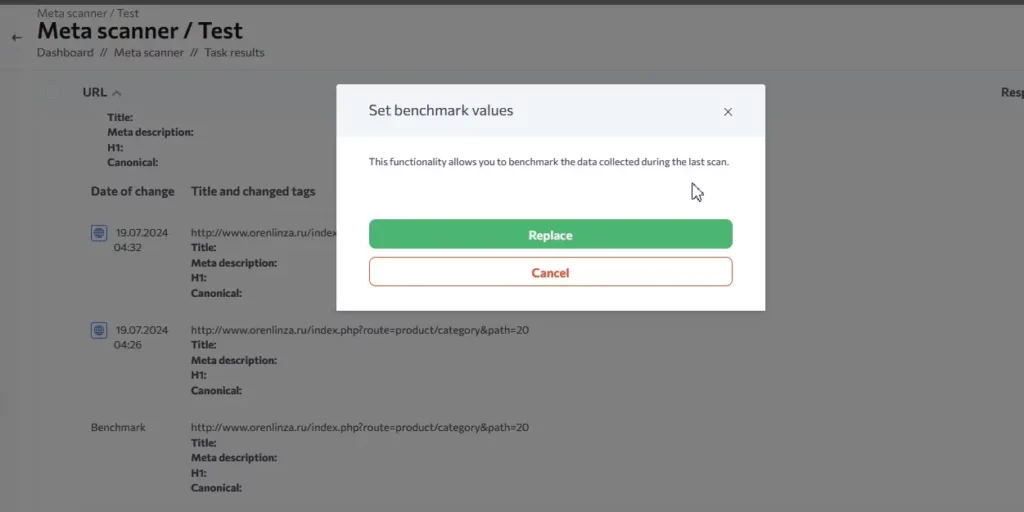
If you want to replace the reference data with check data for a specific date, you can do so by opening the history and clicking on the globe icon in it.
3. Problem URLs tab
This tab only displays information on URLs whose data does not match the reference.

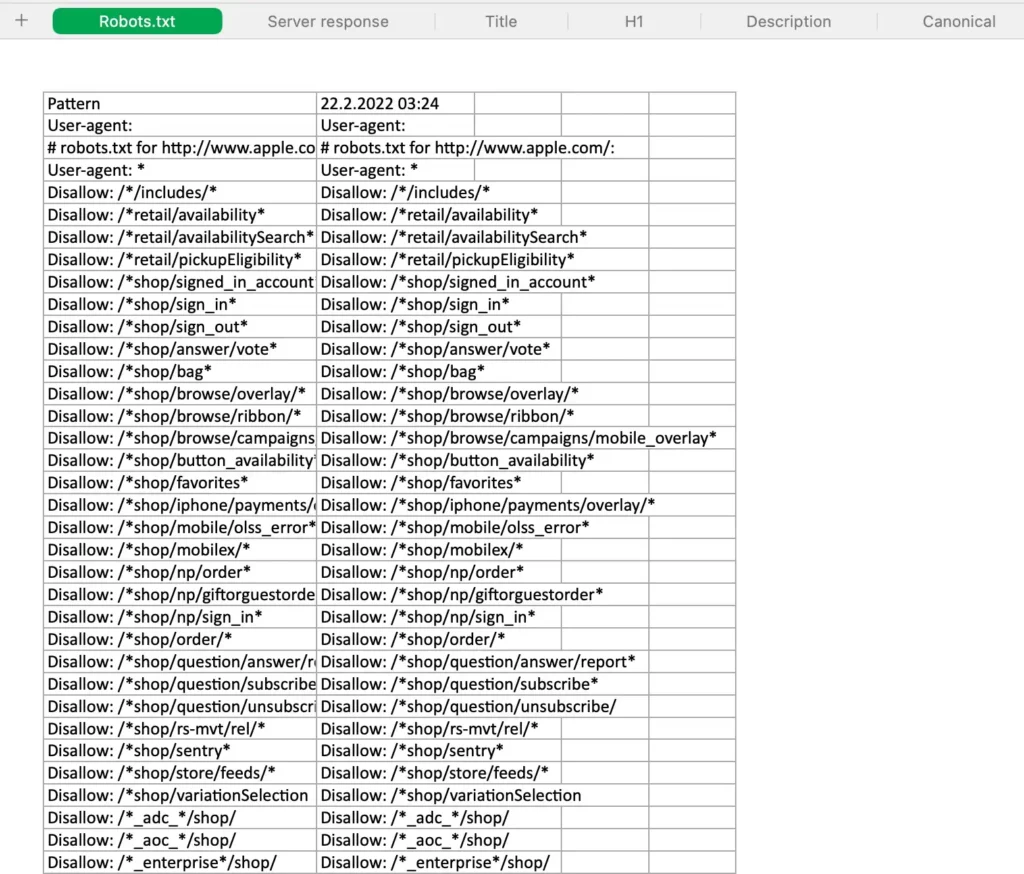
4. Robots.txt tab
This tab displays the reference Robots.txt (the data of which was found during the first run of the task) and the Robots.txt found during the last check. If the data of the reference Robots.txt does not match the Robots.txt of the last check, the inconsistencies will be highlighted in orange in the table.
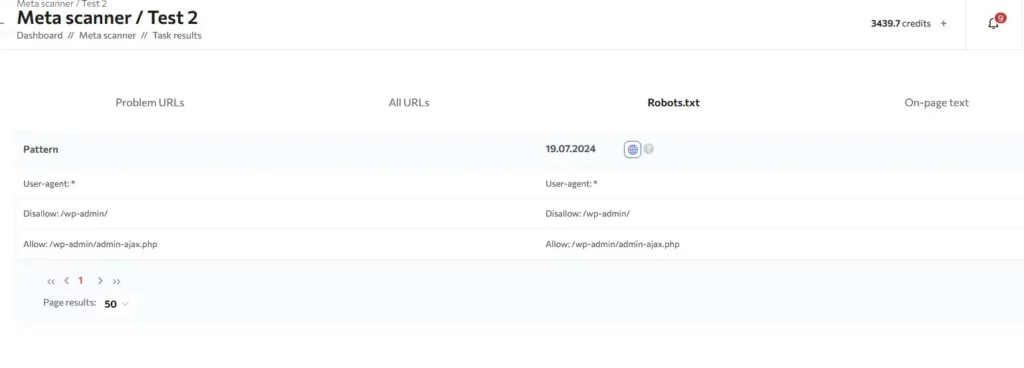
You can also replace the reference data with the latest check if you click on the globe icon.
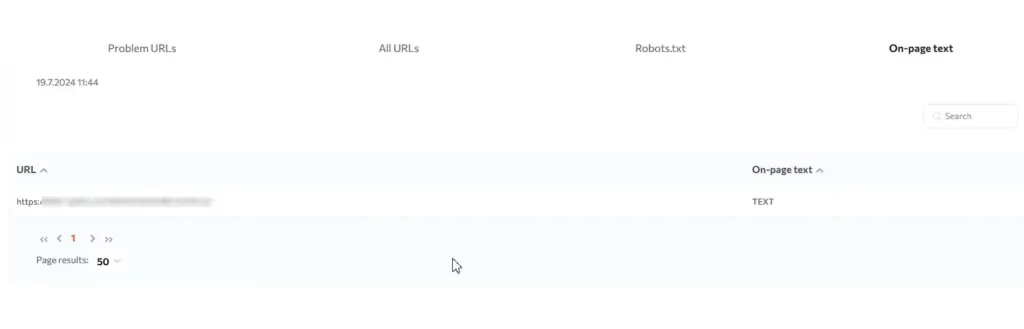
5. Tab Text on page
The Text on Page tab displays whether the text added to the URL is found on the page or not. If the text is not found, it will be highlighted; if the text on the page is found, it will remain unselected. Note that the text is checked for full consistency (including punctuation marks).
Guide to editing tasks
When editing tasks, you can
Change the name of the task
Add a new URL
Add text to the URL
Check or change alert settings
Change the frequency of checks
Meta scanner report file
Robots.txt
Server response
Title
H1
description
Canonical
Indexable
Redirect URL
Redirect location
Text on page
In the file, as in the web interface, changes to the data are color-coded.
We recommend to add to the white list the IP address of our robot or change the site protection system if your site bans us.
For .ru domains: IP 109.172.78.250
For others: IP 178.63.67.31
Is this article helpful?
 241
241
 0
0