The webarchive domain search tool is designed to find vacant or already available domains, so-called “drop domains”, which have not been renewed by their owners, are available for registration, and their copies are saved in the Wayback Machine (web.archive.org).
The tool makes it easier to create PBNs, and allows you to find domains by keywords. The domains that are in the Webarchive will be collected by the system and saved into a task, which you can view in the web interface and also export to an Excel file.
Create a task
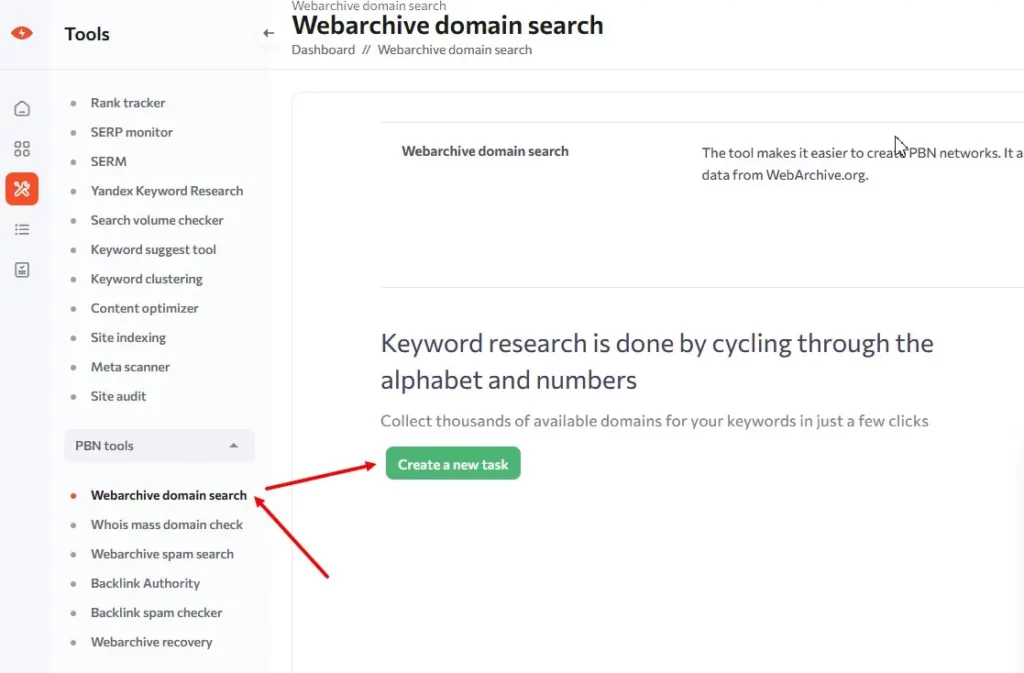
To start, select the Webarchive domain search tool from the left sidebar menu and click on it. Click on the “Create a new task” button:
The “Create Task” window will appear. Enter the name of the task and go to the next step, “Task settings”, where you need to specify how the system will collect domains Also, enable the option “Found subdomains should be saved in the report separately”, which allows you to separate domains from subdomains in the results (they cannot be registered):
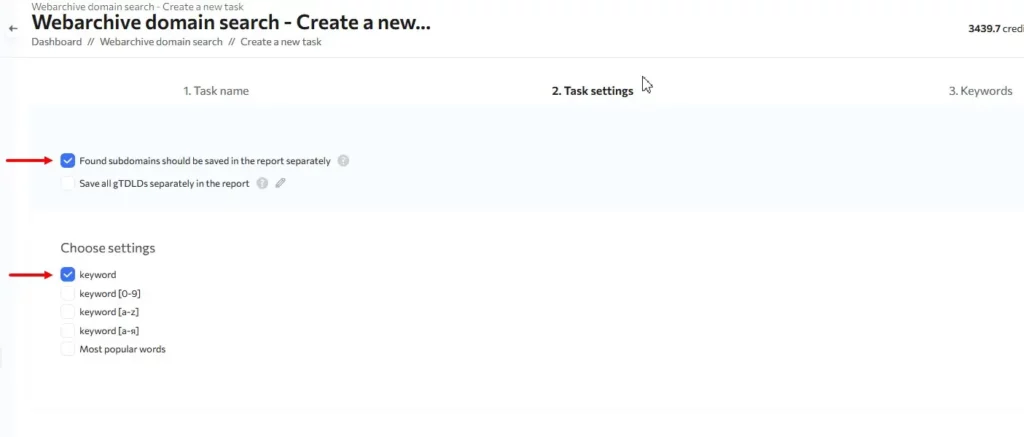
Let’s take a closer look at the task settings:
Keyword – the system will collect domains based on the exact keywords you specify. This means that you add keywords, and if they are found in the titles and text of the pages of sites, then these domains will be in the result.
keyword [0-9] – the system will add all the numbers one by one to the keyword and collect the domains in the same way.
keyword [a-z] – the system will replace all the letters of the alphabet one by one and collect all available domains.
Popular English words – after inserting a space, the system will alternately add popular English words and collect all available domains.
Select the desired setting by clicking the checkbox. You can enable more than one checkbox at a time or all of them. Note: The number of enabled checkboxes affects the price of the task.
Then go to the next step, where you need to add keywords. You can add each word on a new line in the text box,, or select the “Upload file” option to use a file.
Then be sure to click the
“Add keywords” button:
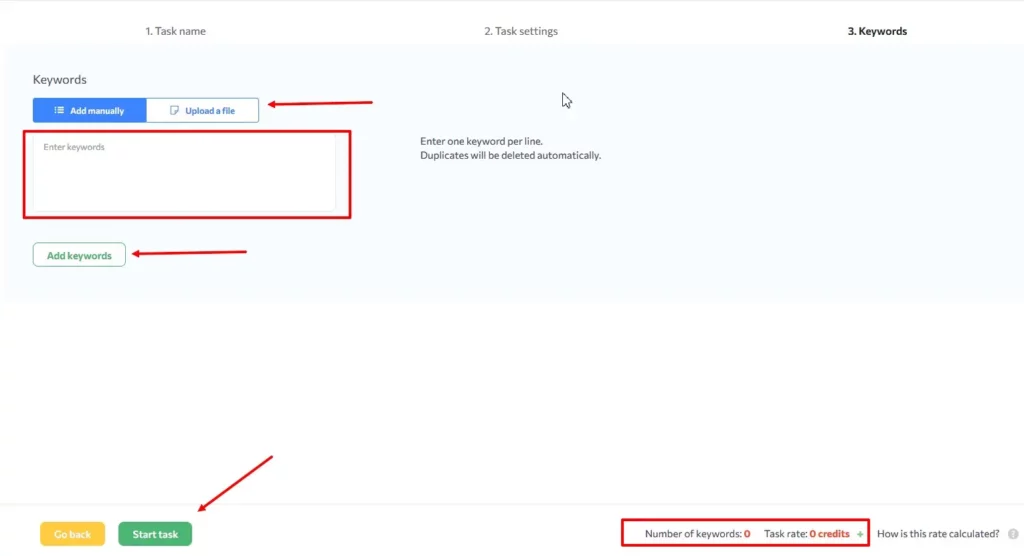
You can delete or change the keywords you added before launching the task. At the bottom of the window, you will see how many keywords have been added and the price. If everything is OK, press the “Create new task” button. In the task launch confirmation window, click “Launch”. The task will start and you will be able to track the status of the running task on the task listing:
Results
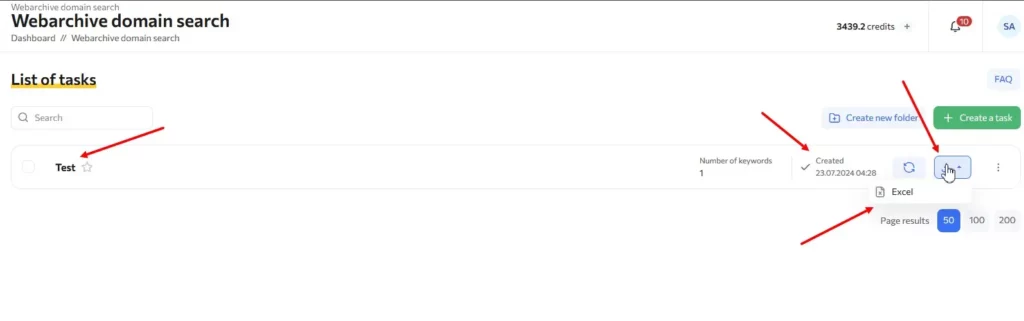
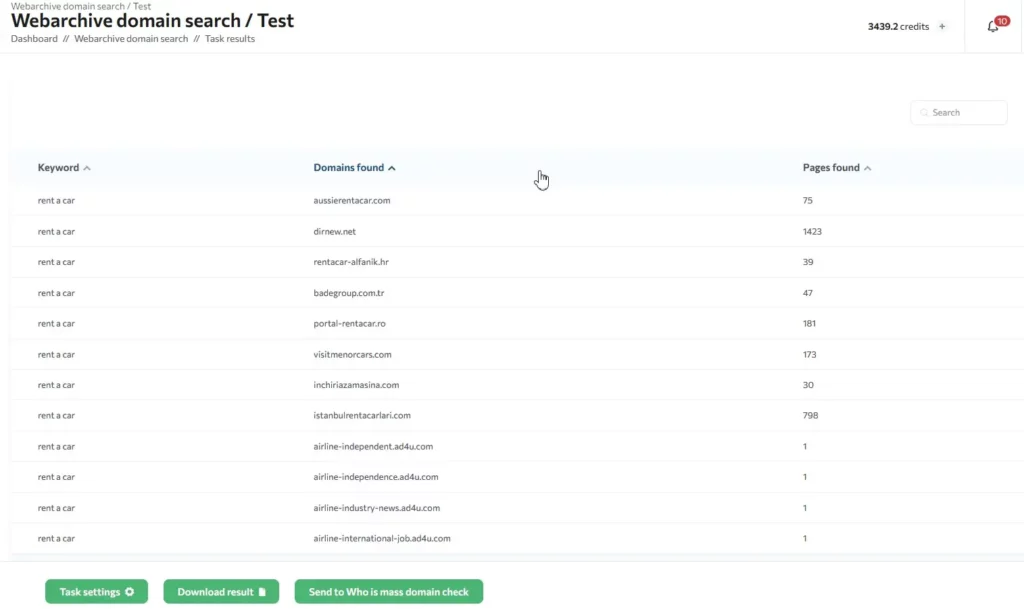
When the task is complete, its status will change to “Created” (and date of creation). You will be able to go to the task simply by clicking on its name and view the results in the web interface:
Important: Duplicate domains are automatically deleted!
The results can be exported to an Excel file.
The obtained domains can then be checked in the Whois mass domain checker.
Is this article helpful?
 211
211
 0
0